ROLL20
Guide
This guide will show you step by step
how to import the modular map elements into roll20.
Before you start.
Unfamililiar with roll 20 in general?
Take a look at the Roll20 Help center to get to know the basics:
Also
This guide was created in April 2023.
Roll20 has recently announced further changes to the UI – so this guide may no longer be up-to-date in a short period of time.
When the changes on Roll20 are complete this guide will of course be updated.
More Info: Roll20 Virtual Tabletop Redesign: Our Research · Roll20 Blog
How to
import modulaR map elements
in 3 easy steps:
Turn your phone around for a better overview!
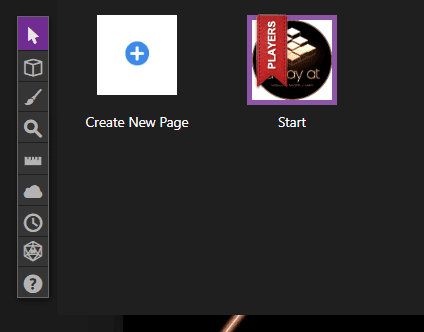
- Go to your game where you want to use the modules in.
If you don´t have a game yet simply create one >Home >create new game
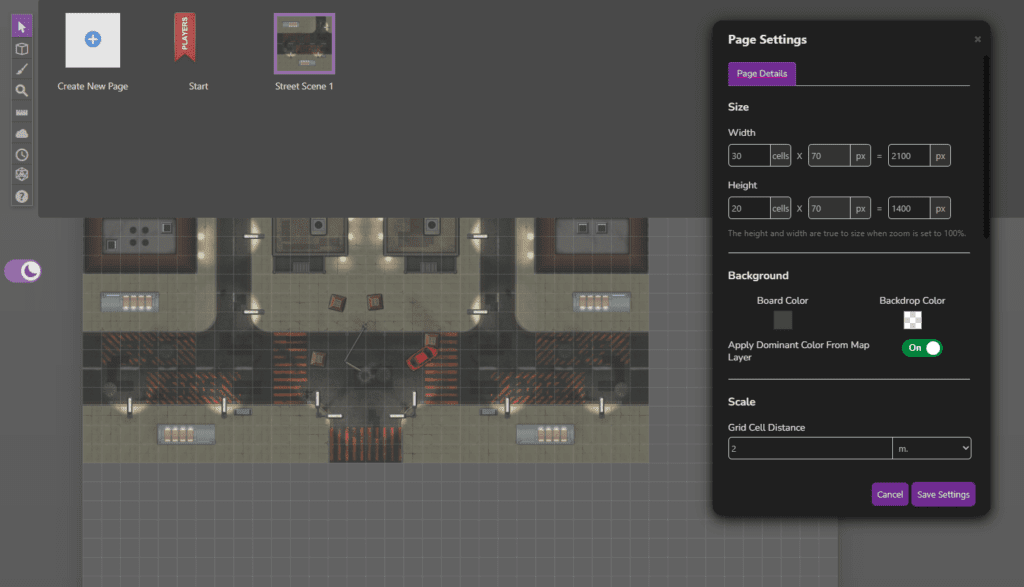
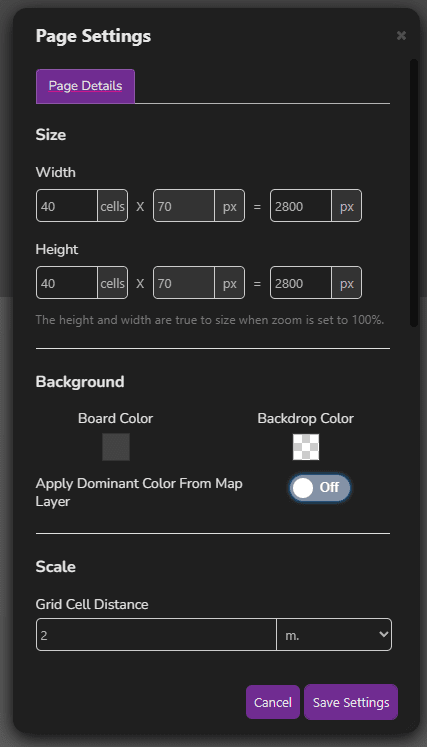
Create a new page where you want to create your map in.
Tip 1: Name your pages immidiately – before you lose oversight.
Tip 2: Enable the Grid in the page settings – even if you use already gridded modules – as it enables a snap that really helps with placement.
Tip 3: As I mainly play Cyberpunk:RED I set the grid scale to 2m so we have the right measurements in game.
Tip 4: Personally I like to have a darker board colour so I changed the Background colour to grey.
Tip 5: I set the grid size to 40×40 so that I have a lot of space to place my modules. You can make it smaller or bigger afterwards.
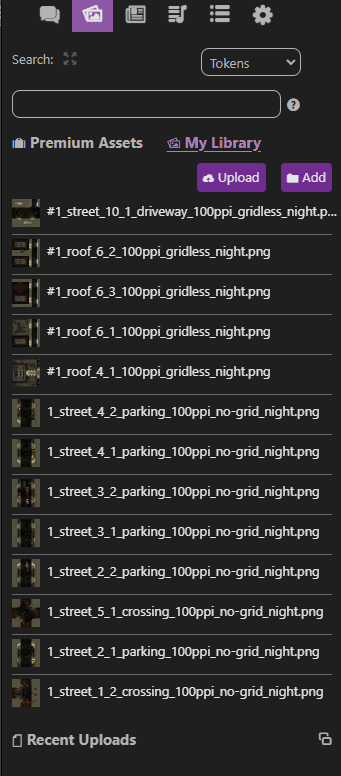
If you bought the content on the marketplace you can access it under > Art Library > Premium Assets > Marketplace Purchases – You don´t need to make any of the steps below.
Option 2: Upload as external content
Upload the modules you want to use under > Art Library > My Library > Upload
Right click on the Modules > Resize Item > Set to 10×10 (if it is a standard module) – if it is a connector the grid size is part of the name of the file.
By doing this you make sure that the modules have the right size on the map – as by default they are set as token with 1×1 grid dimensions.
If you forgot that step you can change the size on the canvas as well: right click > Advanced > Set Dimensions
Tip: With option 2 I highly recommend looking what modules you want to use before you upload them – so you don´t take away to much precious storage quota
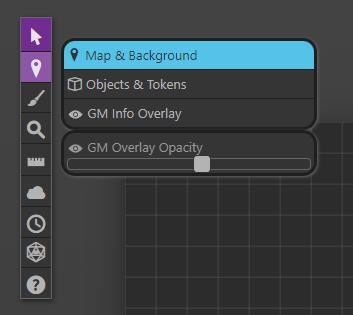
Before you start:
Activate the “Map & Background” Section (see image below).
> so your modules are below the grid
> so you don´t accidentally move them when you move tokens on the board
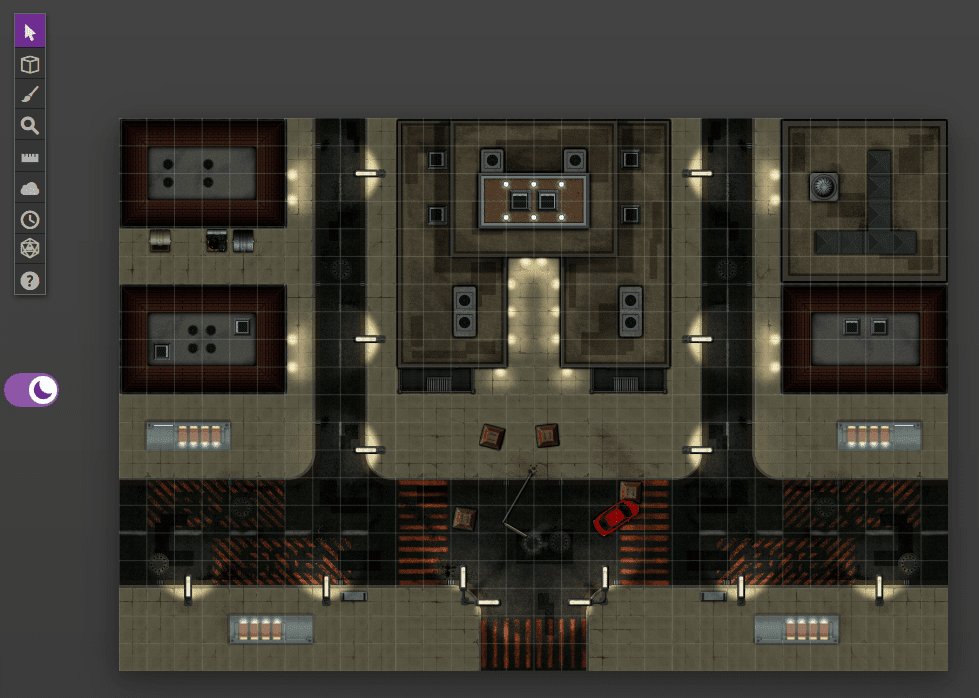
Start to put the modules on your map by drag & drop from your library.
Arrange the modules how you want.
Arrange your modules in the upper left corner of the map and change the page settings to the size you actually used (You can use the ruler to easily see what size you have).
Now you are ready to go!
> Or if you are a Roll20 plus or pro subscriber you can set up dynamic lightning for your map.
Tip 1: You can simply flip the modules with > right click > Advanced > Flip horizontal / Flip vertical
Tip 2: As I chose a big grid size for my map I can easily put out a few modules and arrange them on the canvas the way I like them.
Tip 3: You can find more info on dynamic lightning on the Roll20 Help Center.